Once your website has gone live, you may wish to analyse the number of visits your website is receiving. The most comprehensive way of doing this is to have Google Analytics connected to your site which will tell you pretty much anything you need to know about your website’s performance. This is quite easy to set up and we can help you with the technical side of linking your site to Analytics.
- Firstly, you must register with Google. If you already use any of Google’s services, e.g. Gmail, you are already registered and can skip this step.
- Next, Google ‘Google Analytics’ and click the link to take you to the website. Here. you will be either asked to register if you haven’t done so already, or, sign in to your Google account with your gmail address and your password.
- Next (at the time of writing), click the blue cog icon in the bottom left of the screen and then the blue ‘Create Account’ button. ‘Account’ is confusing, but in simple terms it means you are just adding your website.
- You will then be taken through a series of short and simple webforms where you will be invited to add details of your website and business. No technical knowledge is required for this.
- Once you have completed the ‘Create Account’ process, you will see a piece of code called the Global Site Tag (gtag.js). Carefully, copy and paste this code into an email and send it to us. We will then add this to the code of your website. The code will look something like this:
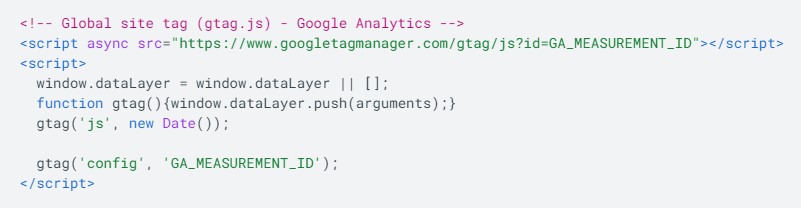
- This code means your website will then start ‘talking’ to your Google Analytics account and in a couple of days or so, you will start seeing your website performance stats being displayed in your Google Analytics account.
If you need any help setting this up, please contact us. We are happy to do this for you, but we will need your Google log in details in order to set it up.