1. Log in to your website’s WordPress dashboard.
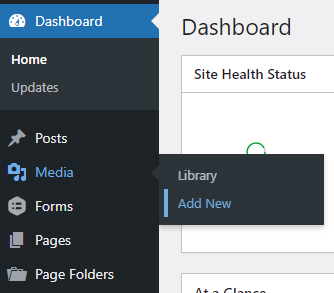
2. Hover over ‘Media’ and click ‘Add New’.
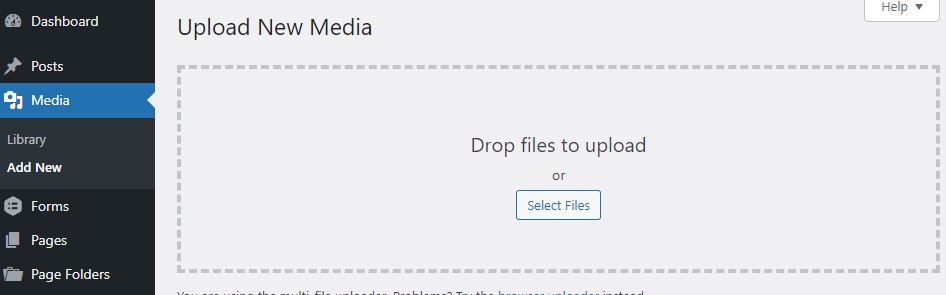
3. You will then see a drag-and-drop screen. You can drag any number of images in one go into this space from your computer. Or, click the ‘Select Files’ button to choose images from your computer. Either of these methods will upload the images to your website’s Media Library.
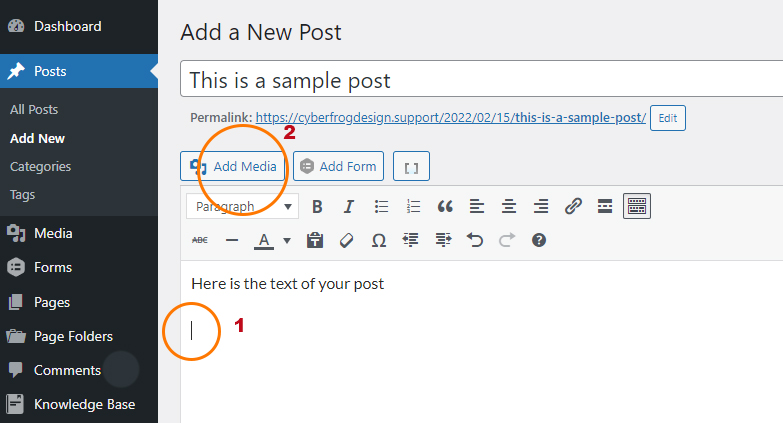
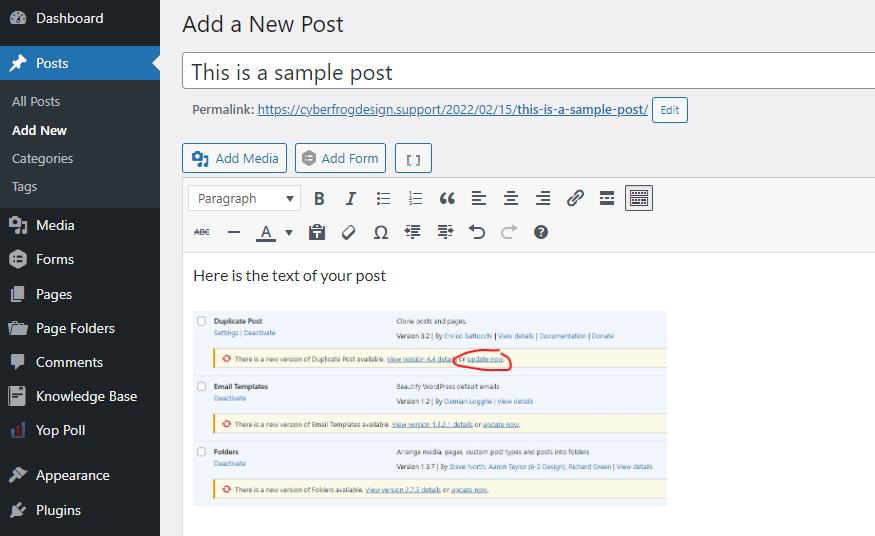
4. Then, navigate to the post or page into which you want to add images. We have chosen a sample post for illustration. First, position your cursor where you want the image to go in your page/post. Then, click the ‘Add Media’ button.
5. You will then see the Media Library, including the images that you have just uploaded. Select the image you want to insert into your page/post.
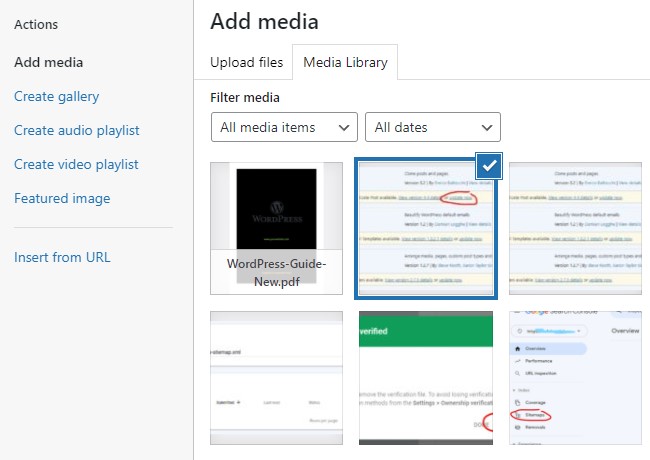
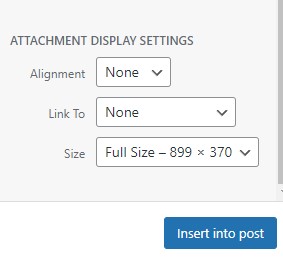
6. Then, click the blue ‘Insert into post’ button in the bottom right corner of the screen.
7. You will then be taken back to your page/post and you will see the image inserted into the text editor.
8. Repeat steps 4, 5 and 6 to continue adding images.
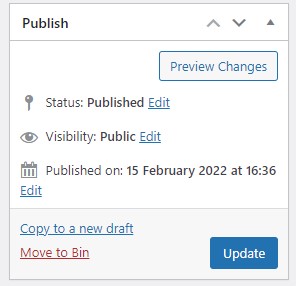
9. Once all the images are in, click the blue ‘Update’ button in the top right corner of the screen. If you are creating a brand new page/post, this button will say ‘Publish’.
10. Now, go to the front end of the site, find your published page/post, and see how it looks to your website visitors.